


We all know taking good pictures with a smartphone can be daunting. Have you ever struggled to take high-quality real estate photos with your iPhone? If so, you are not alone!
Learning how to take real estate photos with iPhone can seem overwhelming, but with the right information and a bit of practice, it’s easier than you think. Read on for tips on mastering the art of taking gorgeous real estate photos with your iPhone!
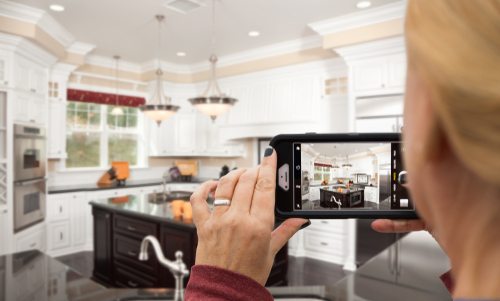
Choosing the Appropriate iPhone Camera Settings
Start by tapping the camera icon and selecting the Live Photo setting. This will capture a higher-resolution image and keep everything sharp. Adjust the exposure by tapping the screen and moving the yellow slider at the bottom of the screen.
To enhance the colors, switch to the “HDR auto” setting. This will bring out the details and make the image stand out. Choose the correct white balance setting by tapping the “WB” button at the top right of the screen and selecting the appropriate option.
If taking photos of landscapes or inside a room, use the “Grid” setting to align the image by using the Rule of Thirds. If photographing a real estate property, use the “Focus/Exposure Lock” feature by pressing and holding the screen.
Make sure to gently move and press the “shutter” button for the highest quality.
Light Up and Brighten the Space

Lighting is one of the most important components of real estate photography. Natural light is best for taking home photos. It can be used to highlight features you want photographers to focus on.
To maximize the amount of natural light in the space, open any blinds, curtains, or shutters. If you have to use artificial lighting, make sure to move any furniture away from the windows and doors to allow more light in.
Make sure the space is bright and illuminated by turning on all the lights and avoiding shadows. Pointing your iPhone’s flash directly at a surface or object may create a flat-looking photo. Try pointing it towards the ceiling to provide a more evenly distributed light source.
Lastly, take pictures with the sun at your back to avoid glare or shadows on your photos. By having well-lit photos, prospective buyers will buy the home without hesitations!
Angles and Orientations for Optimal Results


Keep the phone level and perpendicular to the subject to obtain the clearest images. Capturing an array of angles allows potential buyers to imagine the property’s layout accurately. Take overhead and ground-level shots to gain different perspectives.
Keep the subject’s corners at ninety degrees and focus on the detailing to accentuate the uniqueness of the property’s features. For interior shots, try to capture the flow of the home and capture the windows to maximize the brightness of the space.
Easy Editing Tips to Achieve Professional Quality Results
During the editing process, use filters to enrich colors or apply sharpening to enhance image details. Consider cropping shots to provide a better sense of space. Additionally, look out for any possible distractions in the photos and remove them whenever possible.
Learn How to Take Real Estate Photos With iPhone
Learning how to take real estate photos with iPhone can make professional-looking photos with minimal effort. With the combination of the right equipment and apps, photographers can easily capture unique images for marketing purposes. Now that you know, get out there and shoot some stunning photos!
Be sure to check out the rest of our blog for more informative digital content.