Hosting a #RainbowDrinkChallenge party at home involves offering your guests a delicious variety of drinks and snacks in the hues of the rainbow. Here’s some inspiration to get your creative juices flowing:
RED
Cocktail – Negroni
Mocktail – Virgin Strawberry Daiquiri
Canapé – Caprese skewers (cherry tomatoes, mini mozzarella balls and fresh basil leaves on skewers)
Dessert – Strawberry shortcake
ORANGE
Cocktail – Aperol Spritz
Mocktail – Virgin Sunrise Spritzer (orange juice, sparkling water, grenadine)
Canapé – Baby carrots and hummus
Dessert – Mango sorbet
YELLOW
Cocktail – Mimosa
Mocktail – Virgin Piña Colada
Canapé – Yellow bell peppers and creamy herb dressing dip
Dessert – Lemon cookies
GREEN
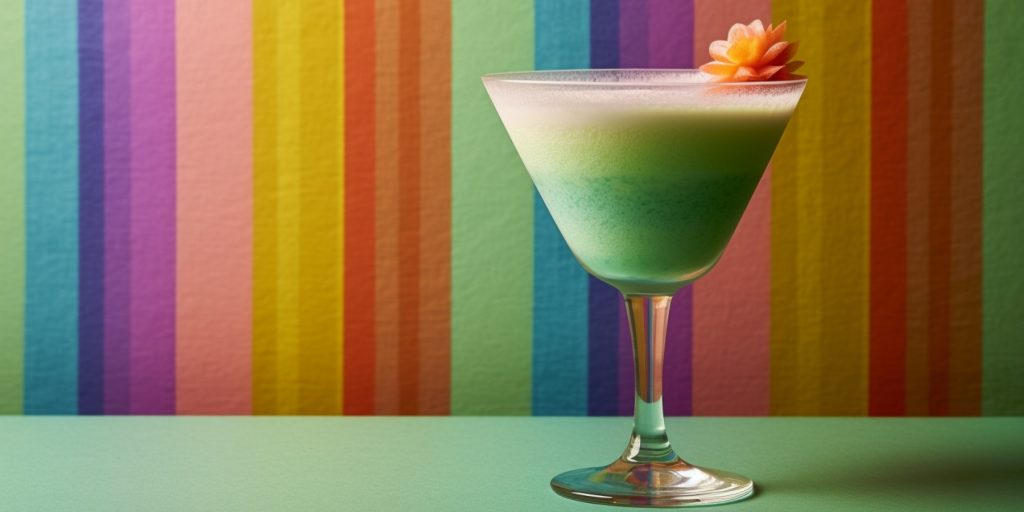
Cocktail – Grasshopper
Mocktail – Virgin Mojito
Canapé – Cucumber slices topped with cubed avocado & a squeeze of lime
Dessert – Kiwi fruit
BLUE
Cocktail – Blue Hawaiian
Mocktail – Blueberry Lemonade Fizz (blueberry syrup, lemonade, sparkling water)
Canapé – Baguette slices with goat cheese, blueberries & a drizzle of honey
Dessert – Blueberry & yogurt smoothie ice pops
INDIGO
Cocktail – Blue Lagoon
Mocktail – Berry Lavender Lemonade (lemonade, blackberries, lavender syrup
Canapé – Fig & blue cheese crostini
Dessert – Blackberry mousse
VIOLET
Cocktail – Aviation
Mocktail – Purple Rain Mocktail (Grape juice, cranberry juice, lemon juice, simple syrup)
Canapé – Cubed beetroot on top of a cracker, garnished with some feta cheese and a mint leaf.
Dessert – Lavender macarons
How To Create A Layered Rainbow Cocktail
If you are brand-new to layered cocktails, the Tequila Sunrise is a good place to start, since there is nothing too complicated about pouring this vibrant tequila-based drink. To get the iconic sunrise effect, you simply pour 45ml Blanco tequila, followed by 90ml orange juice poured over a small handful of ice, and finally add 15ml of grenadine. The red syrup is denser that the other ingredients, and will sink to the bottom of the glass, creating the signature red layer that evokes the idea of a sunrise.
Of course, you can layer just about any ingredient you desire, provided you keep a few mixology rules in mind. Here are some best practice tips to help you achieve beautiful layers in a DIY cocktail of your choosing:
Choose a clear glass. A transparent glass or a glass with a gradual taper will allow you to see the layers clearly, enhancing the visual effect.
Use a spoon. When layering the different liquids, use a spoon to pour each layer slowly over the back of the spoon. Place the spoon just above the surface of the previous layer and let the liquid gently flow down the side of the glass.
Consider density. Different liquids have different densities, and this plays a crucial role in layering. The densest liquid should be at the bottom, with the least dense on top. For example, grenadine or high sugar content syrups tend to be the heaviest, while spirits and liqueurs are generally lighter.
Chill the liquids. To slow down the mixing of the layers, it’s best to chill the liquids in advance. Cold liquids have a slower mixing rate, allowing you more control while layering.
Use a bar spoon or pipette. For more precision, consider using a bar spoon or a pipette to carefully layer each liquid. This can be especially helpful when you’re dealing with small amounts of liquid or intricate layering patterns.
Practice patience. Take your time and pour each layer slowly. Rushing can cause the liquids to mix and blur the layers. It may also help to tilt the glass slightly during pouring to minimize disturbance.
Adjust the sugar content. If you find that the layers are not staying separated, you can adjust the sugar content of the liquids. Adding a little more sugar to the bottom layers can increase their density, helping them stay separate from the lighter layers.
Experiment with colours: Choose liquids with different colours to create an attractive rainbow effect. You can use fruit juices, syrups, liqueurs, or food colouring to achieve vibrant colours for each layer.
Garnish wisely. Consider garnishing your cocktail with complementary elements that enhance the overall presentation. For example, a citrus twist, a fresh herb sprig, or a colourful straw can add a finishing touch.
Remember, layering cocktails takes practice, so don’t get discouraged if your first attempts don’t turn out perfectly. With some patience and experimentation, you’ll be able to create beautiful and eye-catching layered rainbow cocktails.
About The Mixer
The Mixer is an all-in-one drinkspiration destination that discovers new ways to create sparkling and memorable moments with your loved ones through quality cocktail making at home. From delicious recipes with expert tips to trendy new serves and ideas, The Mixer encourages connectivity and good times, whether you’re new to hosting or a cocktail pro. For cocktail recipes and advice, please visit https://www.themixer.com/en-uk/.