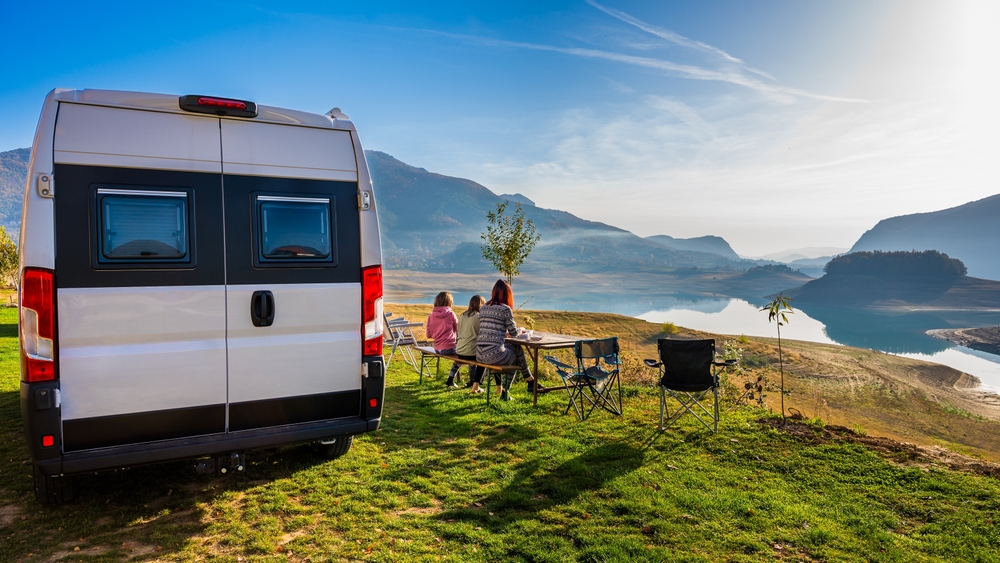
Converting a van into a mobile home is an exciting and rewarding project that offers the freedom of the open road and the comfort of home.
Whether you’re dreaming of weekend getaways or full-time van life, transforming your vehicle into a cozy, functional living space requires careful planning and execution. Here are the essential steps to guide you through the process.
Step 1: Planning and Budgeting
Before you begin any physical work, it’s crucial to plan your conversion. Start by defining your needs and desires: How many people will the van accommodate? Will you need a kitchen, bathroom, or both? How much storage space do you require? Answering these questions will help you create a layout that suits your lifestyle.
Next, set a realistic budget. Van conversions can range from a few thousand dollars to upwards of $20,000, depending on the extent of your modifications and the quality of materials used. Be sure to factor in the cost of the van itself if you haven’t purchased one yet.
Step 2: Selecting the Right Van
Choosing the right van is a critical step. Popular models for conversions include the Mercedes Sprinter, Ford Transit, and Ram ProMaster. Consider factors such as size, fuel efficiency, reliability, and ease of maintenance. A high-roof model provides more standing space, which is particularly important for comfort.
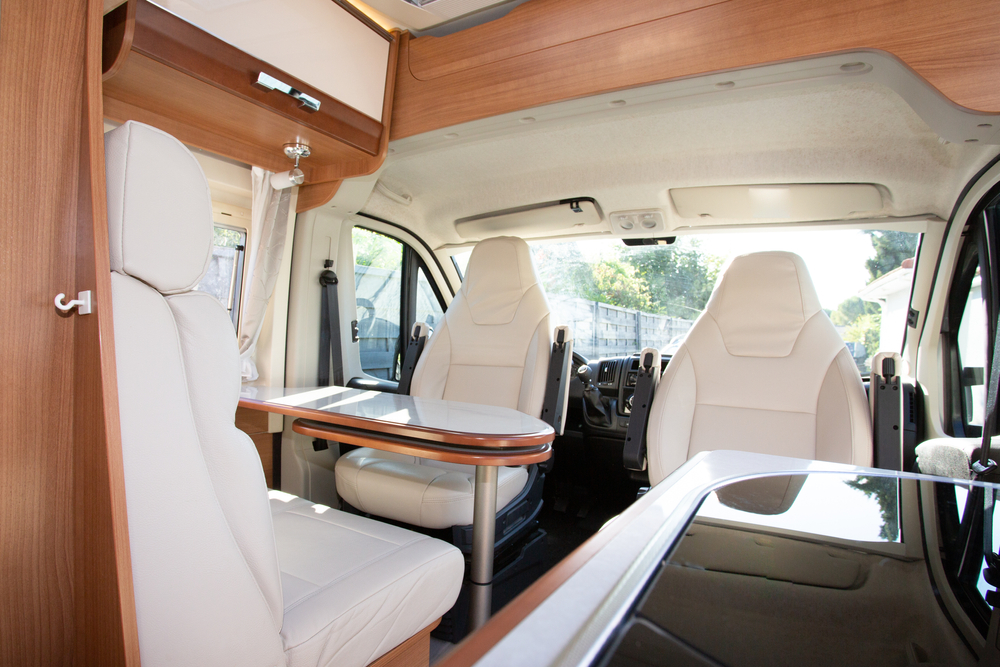
Step 3: Designing the Layout
With your van selected, it’s time to design your layout. Sketch a floor plan that includes areas for sleeping, cooking, dining, and storage. Use online resources and van conversion forums for inspiration and practical tips. Pay attention to maximizing space and ensuring easy access to all areas.
Step 4: Insulating the Van
Insulation is key to maintaining a comfortable temperature inside your van, whether you’re in the heat of summer or the chill of winter. Begin by thoroughly cleaning and preparing the interior surfaces. Then, choose your insulation materials. Foam board, spray foam, and reflective insulation are common choices. Suppliers like Vanstyle can help with this.
Step 5: Installing Electrical Systems
A well-planned electrical system is essential for modern conveniences such as lighting, refrigeration, and charging devices. Decide whether you want a solar power system, which is eco-friendly and ideal for off-grid living. You’ll need solar panels, a charge controller, batteries, an inverter, and wiring. Alternatively, you can install a system that charges via the van’s alternator or connects to shore power at campsites.
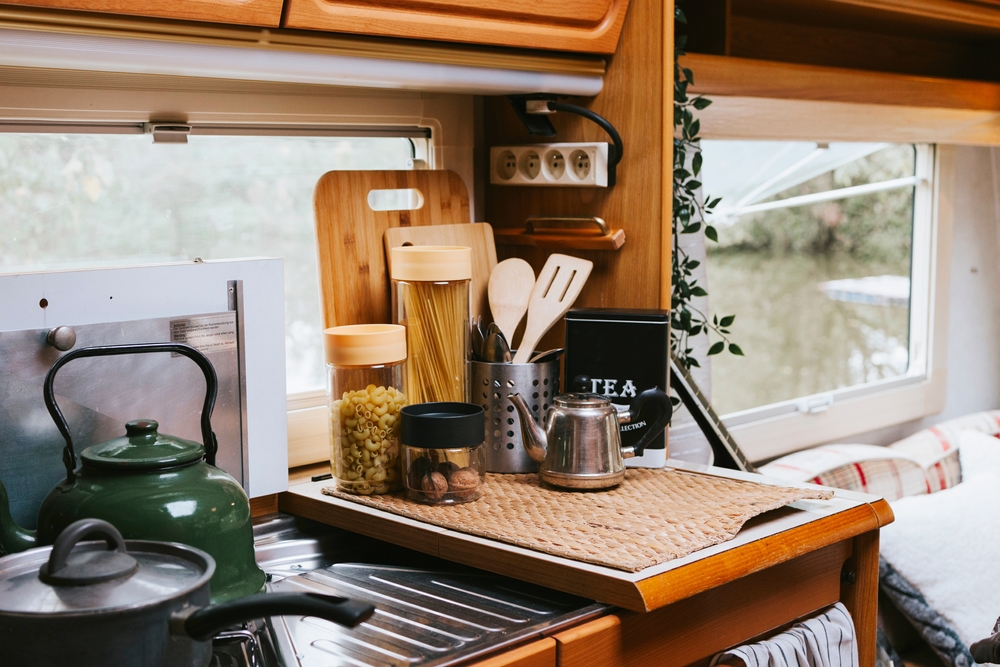
Step 6: Building the Interior
Now it’s time to bring your layout to life. Begin with the flooring, choosing durable and easy-to-clean materials like vinyl or laminate. Next, construct the frame for your furniture and fixtures using lightweight yet sturdy materials such as plywood. Install your bed, kitchen units, storage cabinets, and seating areas according to your design.
Step 7: Plumbing and Water Systems
If your design includes a kitchen or bathroom, you’ll need to install plumbing. A basic water system includes a freshwater tank, a greywater tank, a water pump, and plumbing lines. For hot water, consider installing a small water heater. Make sure all connections are secure and leak-free to avoid issues down the road.
Step 8: Finishing Touches
Once the major installations are complete, add the finishing touches to make your van feel like home. This includes painting or staining wood surfaces, installing curtains or blinds for privacy, and adding decorative elements like cushions, rugs, and artwork. Don’t forget practical items like hooks for hanging clothes and organizers to keep everything in place.
Step 9: Safety and Legal Considerations
Ensure your van conversion complies with local laws and regulations. This might include registering your van as a recreational vehicle (RV) and making sure your electrical and plumbing systems meet safety standards. Install smoke and carbon monoxide detectors, and consider a fire extinguisher for added safety.
Step 10: Testing and Adjusting
Before hitting the road, spend a few nights in your driveway or nearby location to test all systems and identify any issues. This allows you to make necessary adjustments in a controlled environment.