12V LED strip lights are convenient to have around the house. You can use them on cabinet doors, for the entertainment centre, and other discreet places.
Are you considering installing these lights in your home but don’t know where to begin? You’ve come to the right place.
Installing LED strip lights yourself can be easy. All you need is a home improvement toolkit and a little bit of time. We will take you through all the essential steps you need to know before installing the lights yourself. Let’s get started!
Planning and Preparation
Before you start, plan where you want to install the LED strip lights and measure the length you’ll need. Ensure that you have enough strips to cover the area.
However, before diving into the installation process, it is important to consider the LED profile. LED profiles refer to the shape, size, and design of the LED strip lights. Make sure to choose the right profile to achieve the desired effect.
Materials You’ll Need

Gather all the necessary materials beforehand. You will need:
- 12V LED strip lights
- Power supply (12V DC)
- LED strip connectors (if needed)
- Wire stripper/cutter
- Soldering iron and solder (if needed)
- Double-sided adhesive tape and mounting clips
- Scissors
- Electrical tape
Cut the LED Strip Lights

Most LED strips have marked cutting points, usually indicated by scissor icons. Cut the strip at these points to the desired length. Make sure to cut precisely along the marked lines.
Prepare the Power Supply
Connect the 12V DC power supply to the LED strip. If your strip has a plug-and-play connector, simply plug it into the power supply. If not, you may need to solder wires to the LED strip terminals.
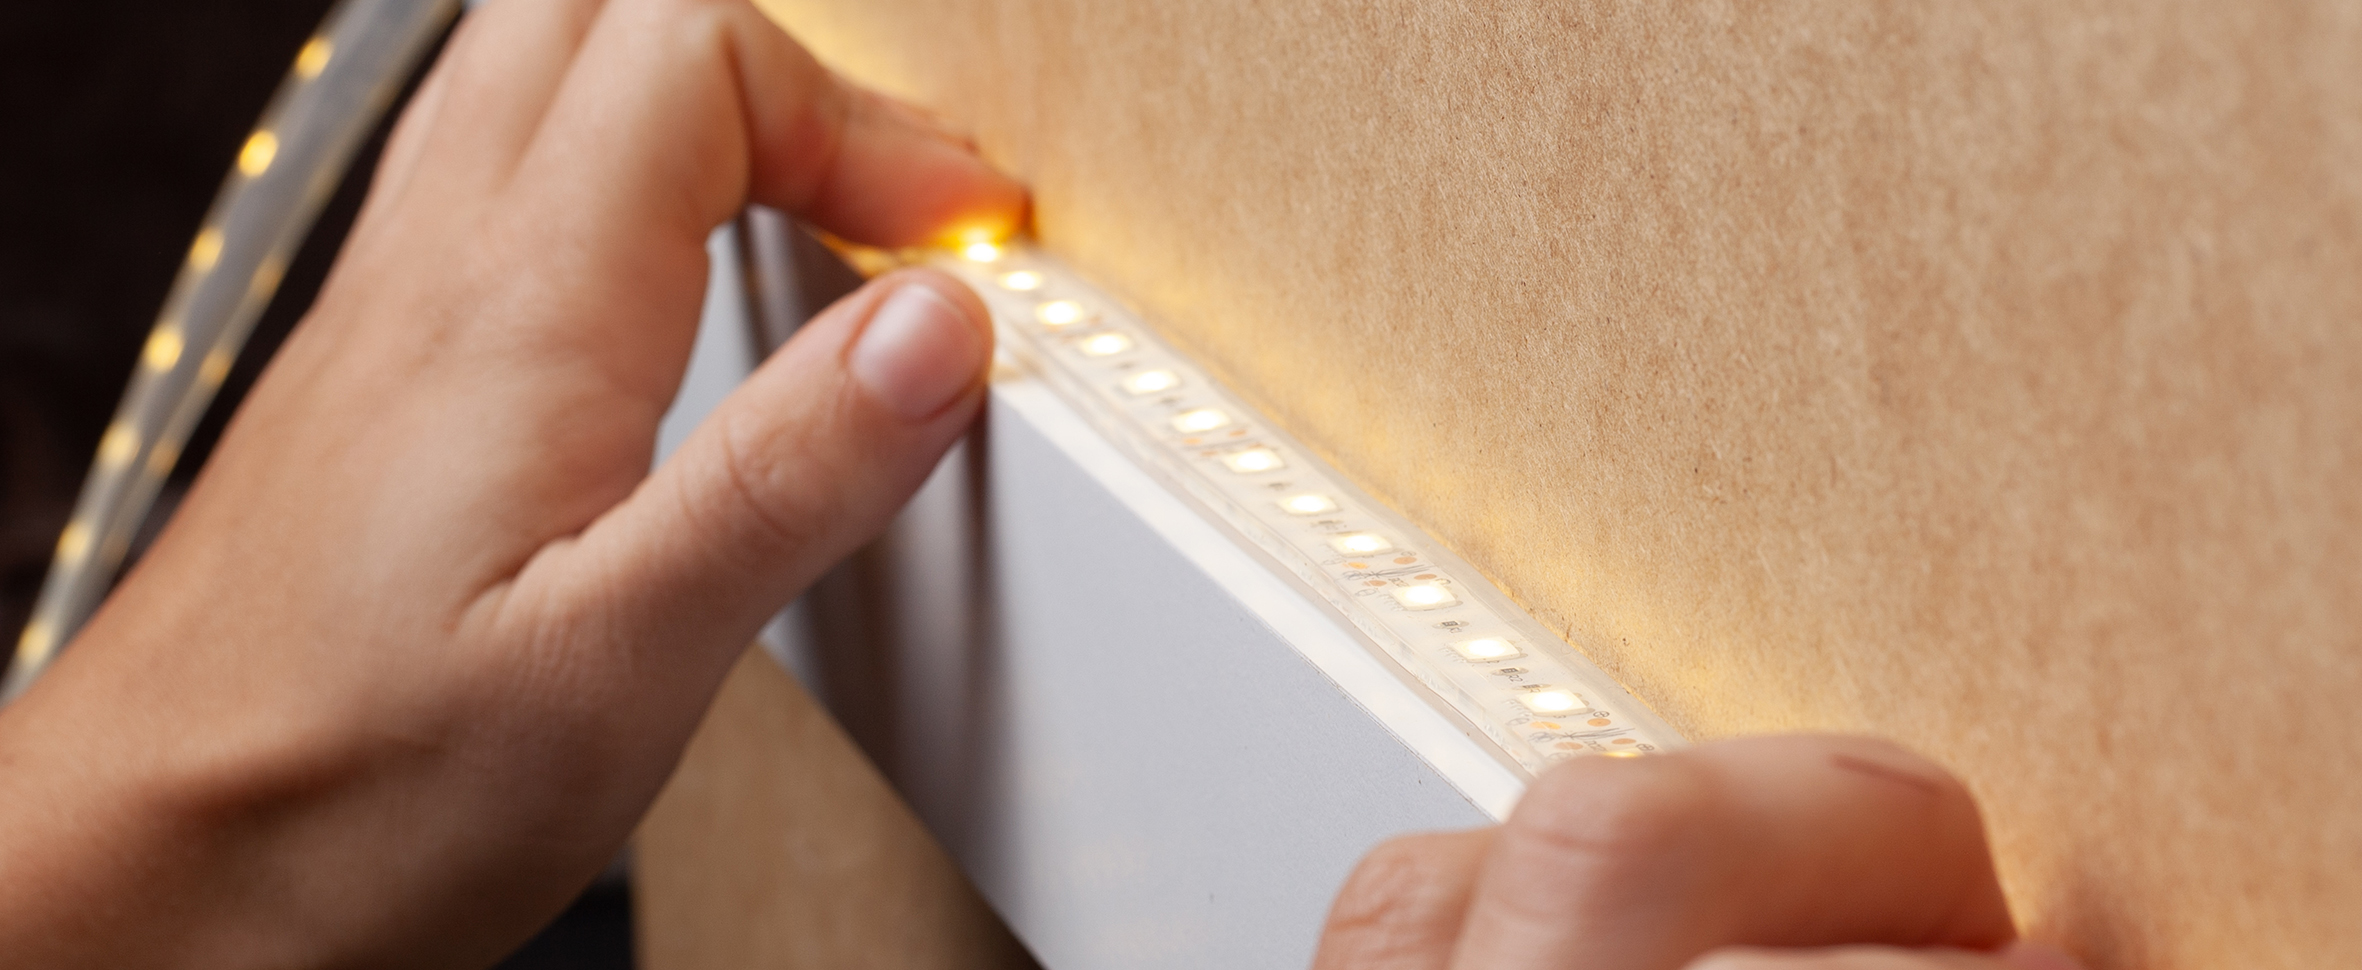
Mount the LED Strip Lights
Use double-sided adhesive tape or mounting clips to secure the LED strip in place. Make sure the surface is clean and dry before applying the tape. Press the strip firmly against the surface to ensure a strong bond.
Wiring and Power
Connect the power supply to the 12V DC power source. Ensure positive and negative connections match. If you want to add a power switch, you can wire it in between the power supply and the LED strip for easy on/off control.
Test the LED lights are the perfect lighting option for any room in your home. Click here for a step-by-step guide to installing 12V LED strip lights.
Before fully securing the LED strips in place, test the lights to ensure they work properly. Turn on the power source to check for any issues or irregularities. If some lights are not working, double-check all the connections and make sure they are secure.
Final Installation
Once you’re satisfied with the lights’ functionality, secure any loose wires and make sure all connections are stable. Apply additional adhesive or mounting clips if needed. Once all the LED lights are functioning, you can sit back and enjoy your newly installed strip lights.
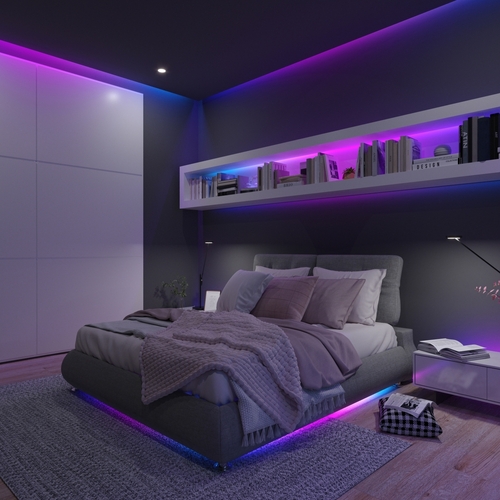
Creative Ways to Use 12V LED Strip Lights
The 12V LED strip lights offer endless possibilities for adding a creative touch to any space. Whether it’s for accent lighting, functional tasks, or decor, these lights are a versatile and energy-efficient option.
Installing strip lights doesn’t have to be a daunting task. By following this step-by-step guide, you can easily add a beautiful and energy-efficient touch to any room. Don’t wait any longer; grab your supplies and get ready to transform your space.
If you find this guide helpful, take a look at some of our other blog posts for more informative reads.